
March 10, 2026
Understanding Your Insurance Restoration Claim: A Step-by-Step Walkthrough
An insurance restoration claim is one of the most confusing financial processes most homeowners ever navigate. Here's exactly how it works — and how Weaver Construction handles every step so you don't have to chase contractors, adjusters, and paperwork.
Step 1: Free Damage Inspection
Within 24 hours of your call, a Weaver project manager comes to your home, walks the roof, and documents all storm damage with photos and measurements. We tell you honestly whether you have a claim worth filing — sometimes you don't, and we'll say so.
Step 2: File Your Insurance Claim
You file the claim directly with your insurance carrier (we never file for you — that's your right and responsibility). We give you the exact damage description, storm date, and photos to share with your claims rep so the file starts strong.
Step 3: Adjuster Inspection
Your insurance company sends an adjuster to inspect the damage, typically within 7–14 days. We meet your adjuster on the roof. This single step makes the biggest difference in claim outcomes — when a contractor walks the roof with the adjuster and points out every damaged area, nothing gets missed.
Step 4: Receive Your Scope and ACV Check
The adjuster sends you a Scope of Loss document and a check for Actual Cash Value (ACV) — replacement cost minus depreciation, minus your deductible. This is typically 50–70% of the total approved claim. Don't worry — there's a second check coming.
Step 5: Sign Your Contract and Schedule
Once the scope is approved, you sign a contract with Weaver, choose your shingle color and style, and we schedule your install — usually within 2–4 weeks of contract signing.
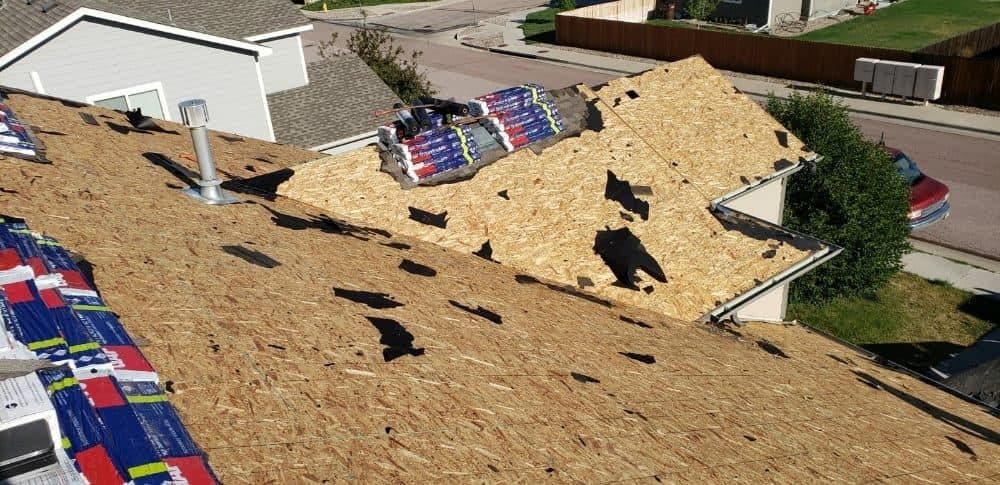
Step 6: Installation
We install your new roof in 1–2 days. We tear off the old roof, inspect and repair decking, install ice & water shield, synthetic underlayment, premium shingles, ridge vents, and new flashing. Cleanup is meticulous — we use magnetic sweepers to catch every nail.
Step 7: Final Inspection and Recoverable Depreciation
After installation, we send your insurance carrier the final invoice, signed Certificate of Completion, and proof of code-required upgrades. The insurance company then releases the recoverable depreciation check — bringing the total payment up to full Replacement Cost Value (RCV).
What You Pay Out of Pocket
Your deductible — and that's it. Everything else is covered by insurance. We handle all paperwork, supplements, and adjuster communication on your behalf.
Start Your Claim the Right Way
Call (720) 314-6777 for a free, no-pressure damage inspection. We'll handle the entire insurance process from start to finish — so you don't have to. Get your free inspection.